I have developed a simple pattern you can draw yourself to replace the cuffs on the bolero cardi in the layered top. Changing the cuffs when they wear out means you wont have to buy a new cardi.
Follow these simple steps:


To cut out:
You will need fabric scissors, pins and tailor’s chalk or a pencil.
- Find stretch fabric that goes with the top, it doesn’t have to match the sleeves, just choose something you like.
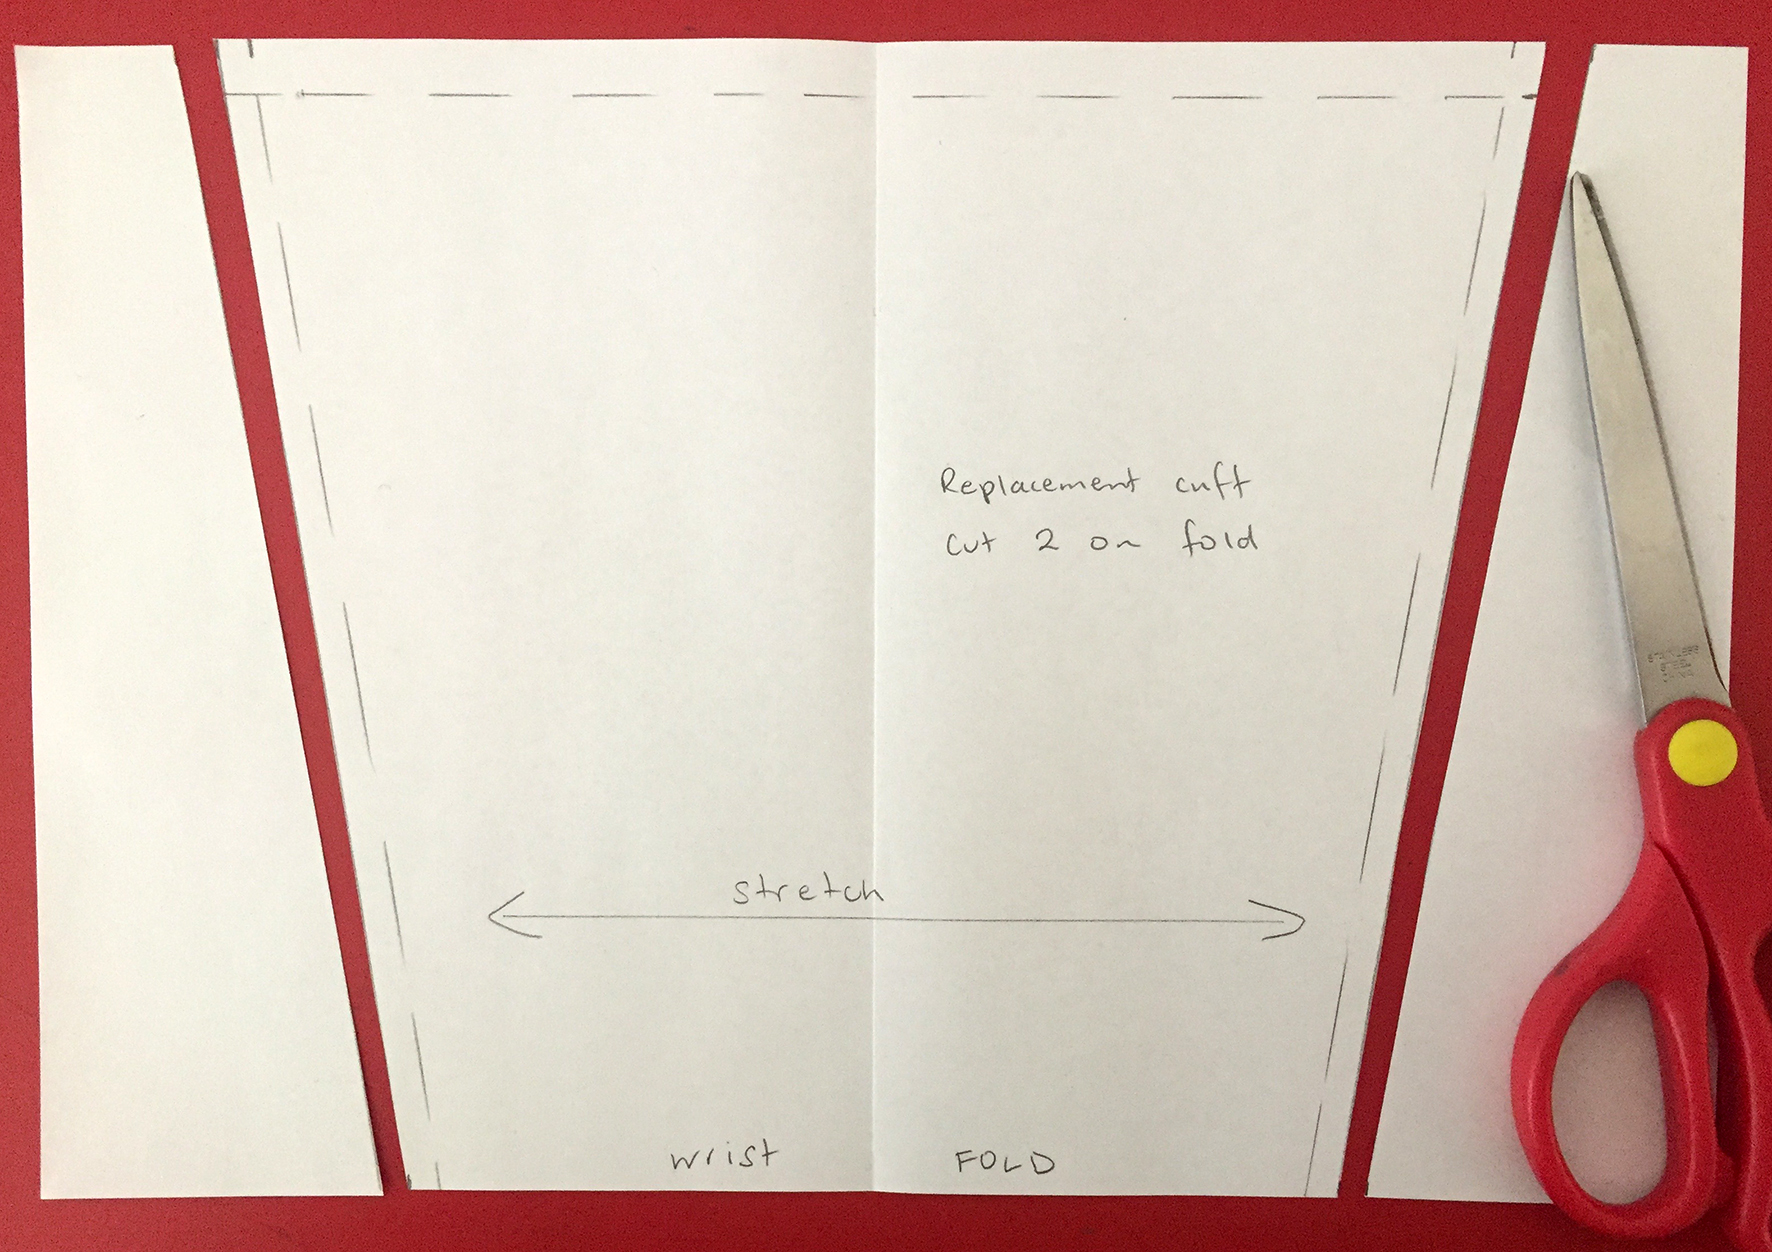
- Pull the fabric crossways and lengthways see which way stretches the most, and fold it in half so the fold is in the direction of the most stretch. Hint: knit fabric usually stretches most perpendicular to the selvedge (finished) edge of the fabric.
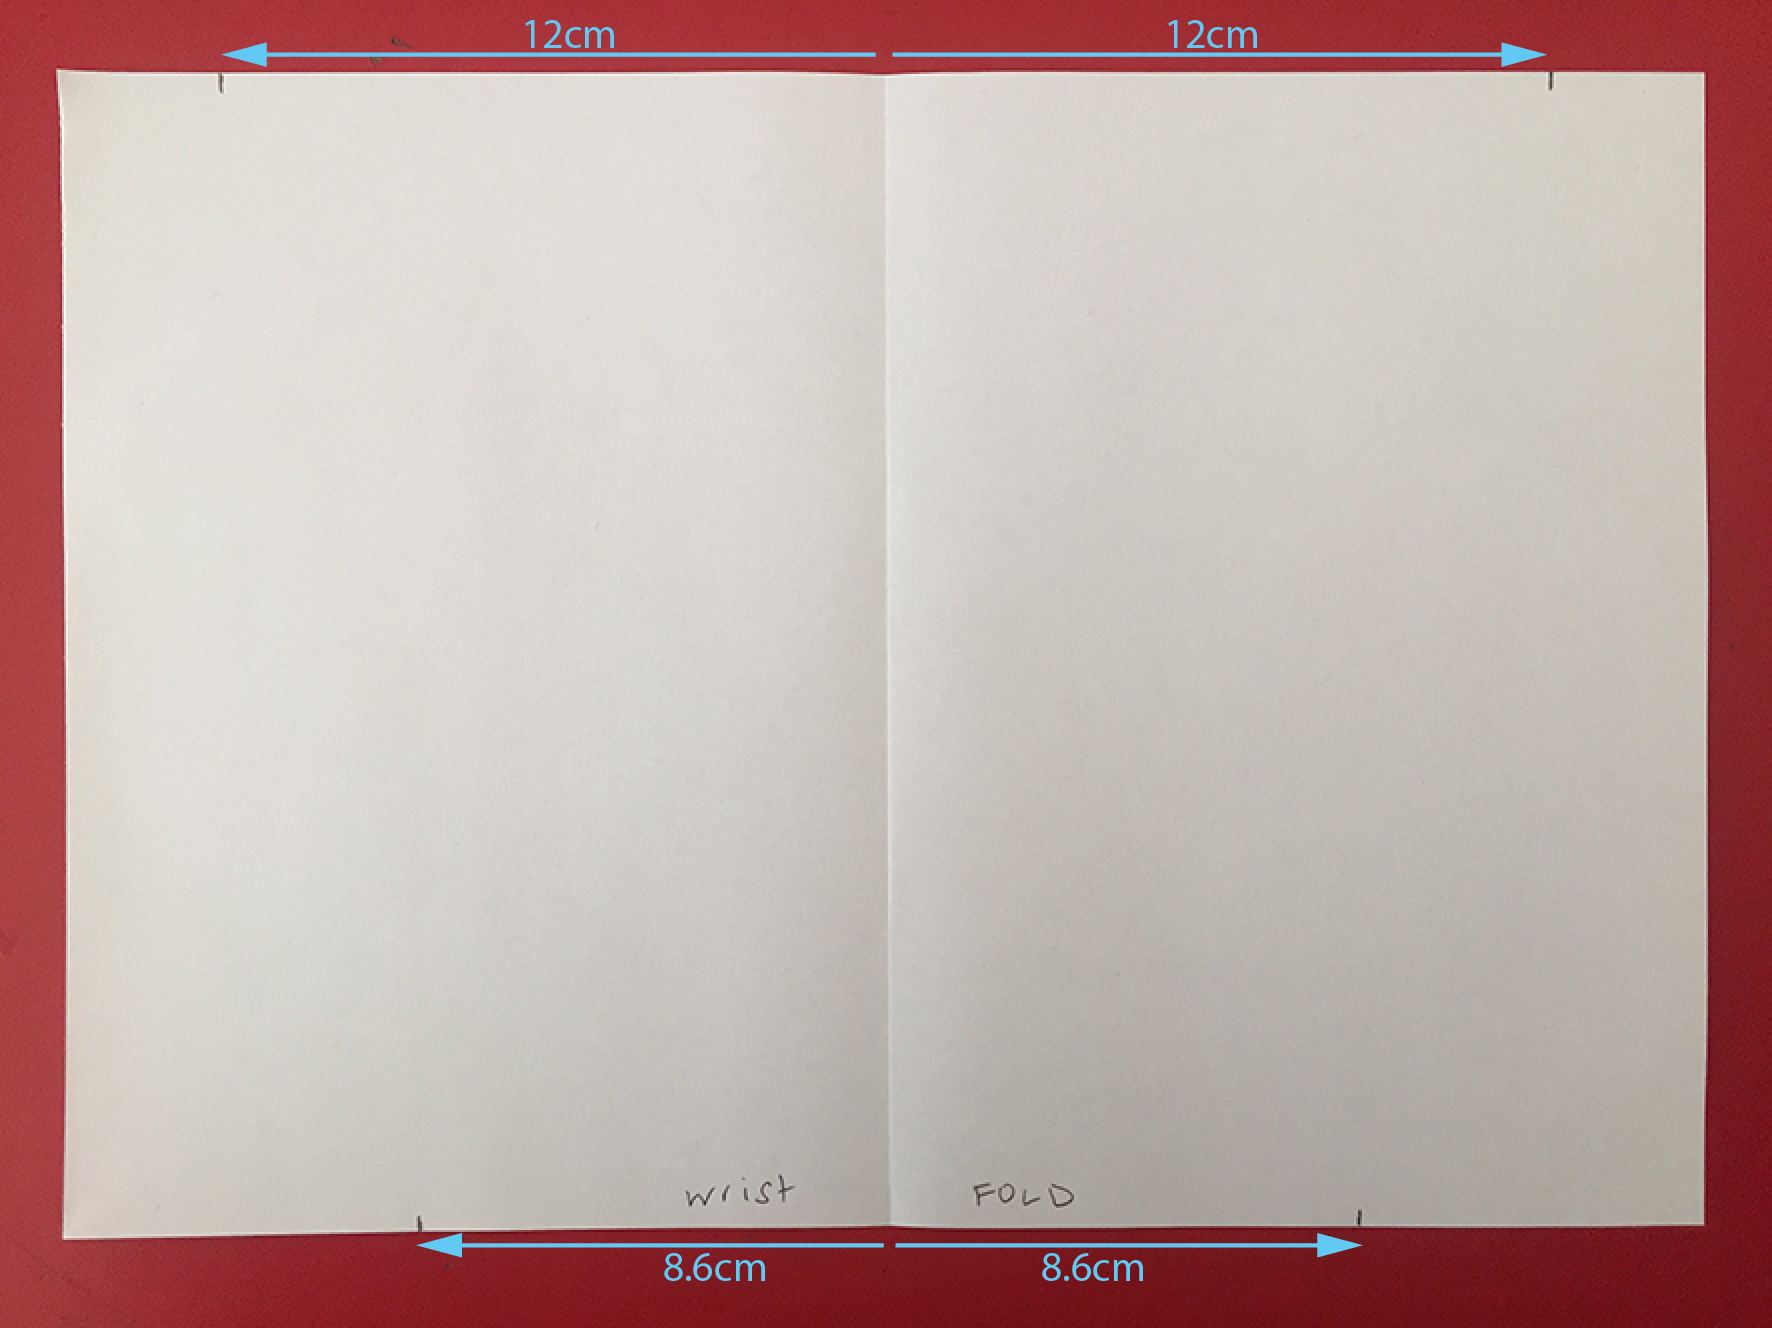
- Place the pattern piece with the edge marked “Fold” right on the fold in the fabric.
- Pin in place and cut out.
- Snip top corners at seam allowance notches, a few mm deep only.
- Repeat steps 3-5 for the other cuff.
This video takes you through the above steps in detail and is suitable for beginners:
(note, if the videos are fuzzy, click the cog bottom right, select Quality > 720pHD)
To attach:
You will need an overlocker or a sewing machine with thread to match your fabric.
- With right sides together, sew each cuff into a tube using a stretch stitch.
- For each cuff, fold in half at the wrist fold line, bring raw edges together.
- Cut off the exisiting cuff as close to the seam line as possible. There is no need to undo the seam.
- Attach to sleeve using a stretch stitch.
These videos takes you through the above steps in more detail and are suitable for beginners:
Note: in the video I use a contrast coloured thread so it stands out. You should use a matching thread. If you have a straight stretch stitch, use it in preference to the zig-zag I use in the video, it’s a bit easier and does look better, but if zig-zag is all you have, it will do quite nicely.
Once you have your new cuffs on, post a comment and a pic on the forum (coming soon!)